


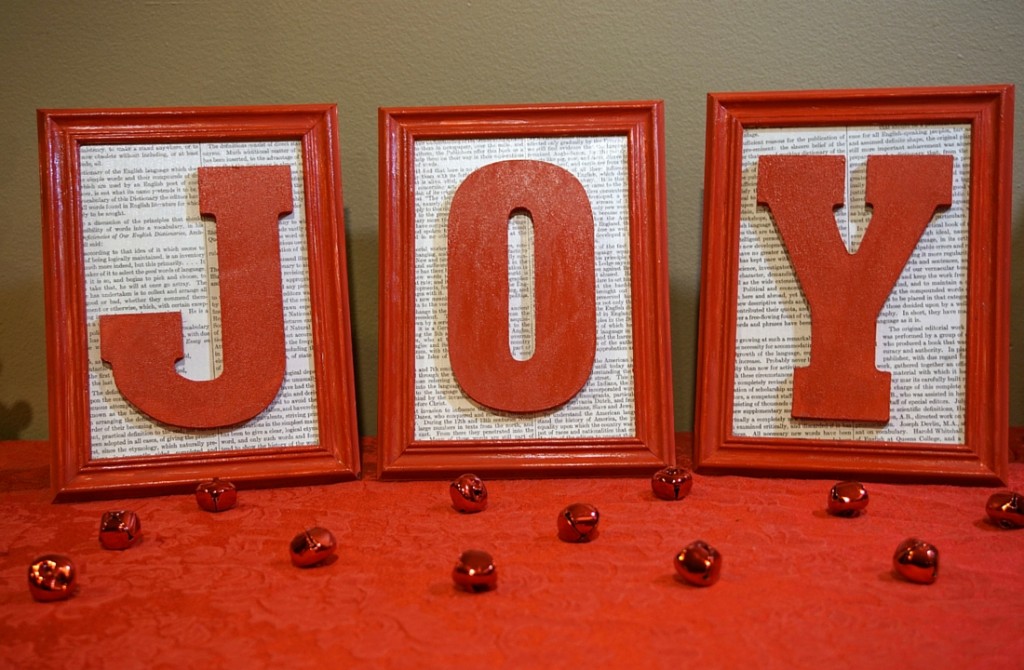


It’s the busiest time of year here in the Nassy residence. Even so, I couldn’t let the year come to a close without squeezing in one last DIY craft. It’s been a while since I tackled a Christmas DIY craft. A few years ago I made my own DIY Advent calendar and cute DIY tabletop Christmas trees, but haven’t had a chance to make anything for the holiday season since then.
When autumn first arrived, I was browsing through Pinterest and came across this cool fall décor craft. That’s when I decided to try to make something similar for Christmas. I headed to Hobby Lobby and the dollar store to pick up some supplies and got to work.

These are the materials I used to make this craft:
*indicates affiliate link
4-5x 7 picture frames (with glass)
Wooden or MDF letters
Acrylic Paint*
Gloss-Lustre Mod Podge*
Sponge brushes*
pages from an old book, cut to the size of the frames
Tacky glue*
Directions
Paint the picture frames in the desired color using acrylic paint. I had to use two coats because the dollar store picture frames I used were plastic so one coat was not enough.

Paint the letters.

Use Modge Podge to glue the book pages to the glass from the frames.
Coat the top of the paper with Modge Podge.
Lightly coat the picture frames and letters with Modge Podge.
Let everything dry.
When everything has dried, attach the letters to the paper covered glass using the tacky glue.
Once that has dried , put the frames together and voila! You just made a great looking DIY framed Christmas décor!

For more Pinterest remakes, here are a few of my favorite blogs:
- 5 minute Christmas ornament by Confessions of an Overworked Mom
- Snickerdoodle dairy free Christmas cookie recipe by Our Homemade Life
- Whipped Chocolate Body Butter by Food Fun Family
- Popsicle Stick Snowflake Wreath by Mom Does it All
- Snowman Sugar Cookie Sticks by Sincerely, Mindy
- Easy DIY Reindeer Ornament Your Child Can Make by Mommy Snippets
- Skillet Apple Cranberry Crisp by Upstate Ramblings
- How to Make Beeswax Glitter Candles by Mom Always Finds Out