


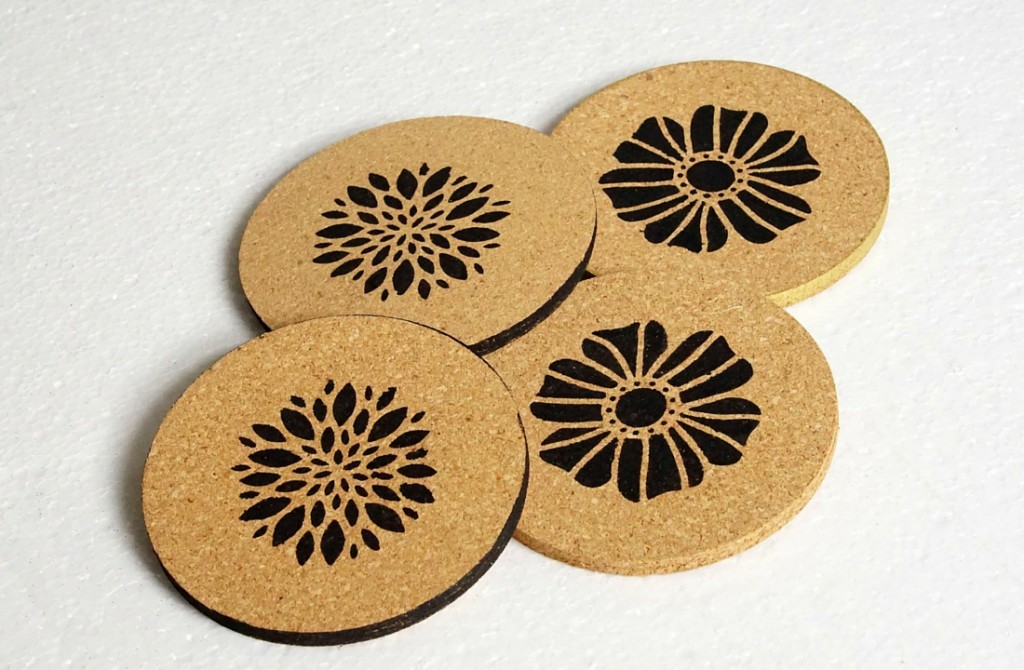


Everyday after Z.E.N. finishes his homework, he heads to the living room, curls up with a book and reads for a bit. The problem is, he also brings a drink along and sometimes places his cups on the tables without a coaster. When I noticed this was happening, I went to grab a coaster but couldn't find one. Now I know we have coasters in this house. I purchased them myself, but I have no idea where they have all disappeared to. I didn’t want to spend anymore money on buying coasters, so I decided to make some do it yourself cork coasters myself after seeing these cute stenciled coasters on Pinterest.
Check out how I made my coasters below:
SUPPLIES:

- Ready-cut cork coaster rounds
- Aleene’s Clear Gel Tacky Glue*
- Adhesive Stencil*
- Elmer’s Opaque Paint Marker in Black*
*indicates affiliate links
I thought the coaster rounds I purchased were a little too flat so I used two rounds per coaster. I adhered the rounds together using the tacky glue. I waited for the glue to dry and then I got to work with stenciling.
I positioned the adhesive stencil on the coaster round and pressed down firmly to make sure it was on firmly. Then I used the paint marker to create the design.
When I was done with the design I let the paint dry and then pulled off the stencil.

Next, I used the paint marker to paint the edge of a few of the coasters and voila! My cute do it yourself coasters were done and ready for use!

What I love about this little diy project is the fact that you could make this your own using the stencil and paint colors of your choice.

For more Pinterest Remakes, here are a few of my favorite bloggers:
- Peppermint Body Scrub in 5 Minutes by Confessions of an Overworked Mom
- Maple Roasted Carrots by Upstate Ramblings
- Stamped Alcohol Inked Coasters by How Was Your Day?
- Acorn Squash Stuffing Recipe by A Mom's Take
- How to Make Lightbulb Christmas Ornaments by Jennifer Sikora
- Chocolate “Muddy Buddy” Snowy Pinecones by Food Fun Family
- Winter White Red Velvet Fudge by Mom Does it All
- How to Make a Coffee Filter Wreath by Mom Always Finds Out
- Gluten Free Chocolate Chip Pumpkin Pie Bars by Home and Garden Cafe
- Coconut Crescent Layer Bars by Sincerely, Mindy
- Make your Own Christmas Tree by 2Boys+1Girl=OneCrazyMom
